Difference between revisions of "Table registration/nb"
(Created page with "Hvis ett budsjett må fordeles mellom flere kunder, brukes Fordelingsmal. Fordelingen kan gjelde hele budsjettet eller kun enkelte ordrer.") |
(Created page with "{{ExpandImage|MED-TAB-NO-Bild3.png}} Gå deretter videre til Tabellregistrering. Velg NY og angi ett versjonsnavn (obligatorisk, men har ikke noen betydning). Velg Mal og t...") |
||
| Line 13: | Line 13: | ||
Hvis ett budsjett må fordeles mellom flere kunder, brukes Fordelingsmal. Fordelingen kan gjelde hele budsjettet eller kun enkelte ordrer. |
Hvis ett budsjett må fordeles mellom flere kunder, brukes Fordelingsmal. Fordelingen kan gjelde hele budsjettet eller kun enkelte ordrer. |
||
| − | {{ExpandImage|MED-TAB- |
+ | {{ExpandImage|MED-TAB-NO-Bild3.png}} |
| + | Gå deretter videre til Tabellregistrering. Velg NY og angi ett versjonsnavn (obligatorisk, men har ikke noen betydning). Velg Mal og trykk på OK. Det kan finnes forskjellige maler for de forskjellige medietypene som kan ha varierende innehold og kolonner. |
||
| − | Continue to Table registration. Select NEW and enter a version name (mandatory but has no relevance). Select thereafter Template and press OK. You can have several templates for different media types with varying columns and contents. |
||
{{ExpandImage|MED-TAB-EN-Bild4.png}} |
{{ExpandImage|MED-TAB-EN-Bild4.png}} |
||
Revision as of 09:07, 3 May 2021
Contents
Tabellregistrering
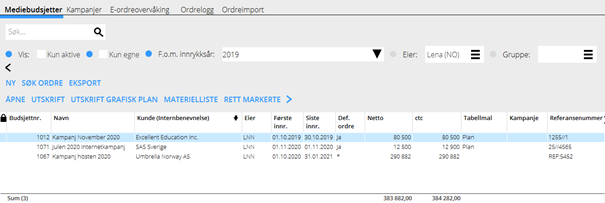
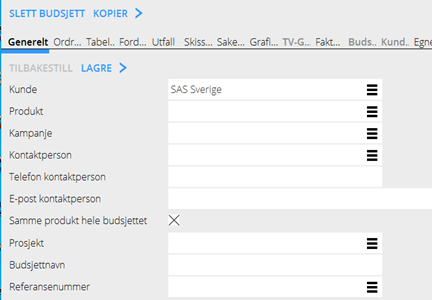
Begynn ved å opprette ett nytt mediebudsjett (NY). Angi kunde, budsjettnavn og velg kundeavtale, dersom det ikke finnes default. Da det er ferdigt, LAGRE. Du kan også kopiere et allerede opprettet budsjett ved først velge NY og deretter KOPIERE ett eksisterende budsjett.
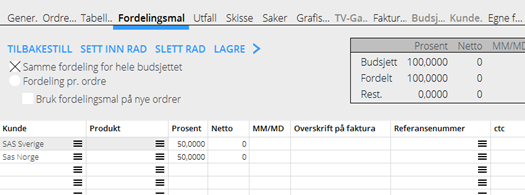
Hvis ett budsjett må fordeles mellom flere kunder, brukes Fordelingsmal. Fordelingen kan gjelde hele budsjettet eller kun enkelte ordrer.
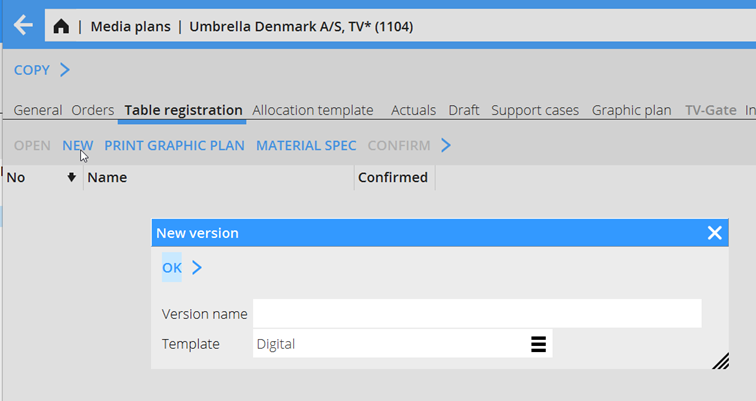
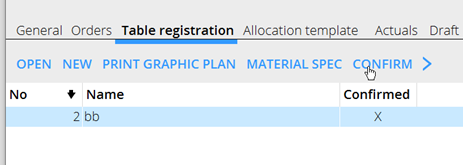
Gå deretter videre til Tabellregistrering. Velg NY og angi ett versjonsnavn (obligatorisk, men har ikke noen betydning). Velg Mal og trykk på OK. Det kan finnes forskjellige maler for de forskjellige medietypene som kan ha varierende innehold og kolonner.
Enter insertion date for the plan’s selected period. If the plan shall be allocated over several months, the date interval must span over the whole period.
Only selected columns = this box should be checked for the possibility to hide/add columns with the arrow symbol to the right in the list. Select media. Possible format and placement, cost model and other things that are important to have in reports and printouts.
SELECT ALL DATES= All dates in the calendars will be marked. If you don’t select any date, the insertion date will be the first date of the period.
Use SURCHARGE for adding fee, production cost or another surcharge and write amount. You can write an invoice comment, if you want another text on the invoice.
When all media have been entered, SAVE. If everything looks OK, you must CONFIRM the version so that the orders are created and receive an order number from Marathon.
Note that these orders are preliminary and must be made definitive before they can be sent as order to media and invoiced.
To make an allocation
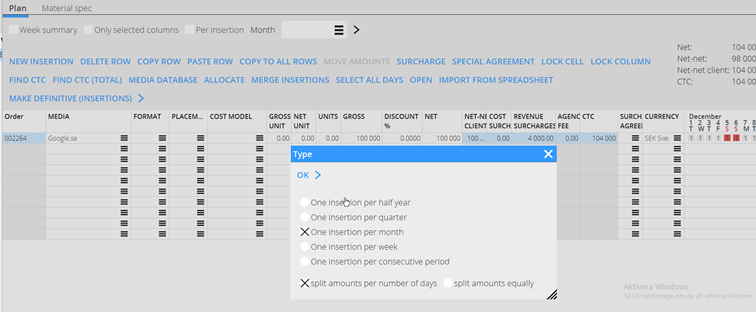
Example: Allocation over 3 months. 1. Select row and begin with SELECT ALL DATES 2. Press ALLOCATE and choose allocation alternative.
The order is allocated on three insertions, one per month.
To correct an erroneous allocation
The correction is made in the table registration. Begin with selecting the order and press MERGE, which here means that you are undoing the allocation. Next step is to delete the erroneous dates in the calendar. Keep the cursor over and drag the days that shall be deleted. Thereafter, make a new allocation with ALLOCATE
The functions FIND CTC and FIND CTC (TOTAL)
FIND CTC
Select one of the orders and go to the cell that’s value shall be changed and click on FIND CTC . The value will be changed to requested amount.
CTC (TOTAL)
Similar function, but the total CTC concerns all orders. The value will be changed only in the cell you are in.
The function IMPORT FROM SPREADSHEET
Right click in the middle of the table, select COPY. Paste into Excel. You get a tempalte taht you can use in importing to Table registration. You must use the whole template, all columns, otherwise the template does not work. Fill in the template and import it to Table registration.
