Difference between revisions of "Pocket Expense reports/en"
From Marathon Documentation
(Updating to match new version of source page) |
(Updating to match new version of source page) |
||
| Line 1: | Line 1: | ||
| ⚫ | |||
| − | __FORCETOC__ |
||
| ⚫ | |||
This guide describes how to handle expenses in your Marathon Pocket App. |
This guide describes how to handle expenses in your Marathon Pocket App. |
||
Revision as of 08:00, 24 April 2020
This guide describes how to handle expenses in your Marathon Pocket App.
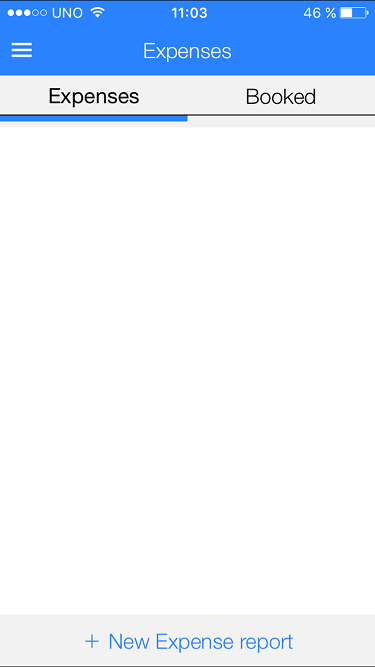
Go to Expenses from the main menu. Select New Expense report.
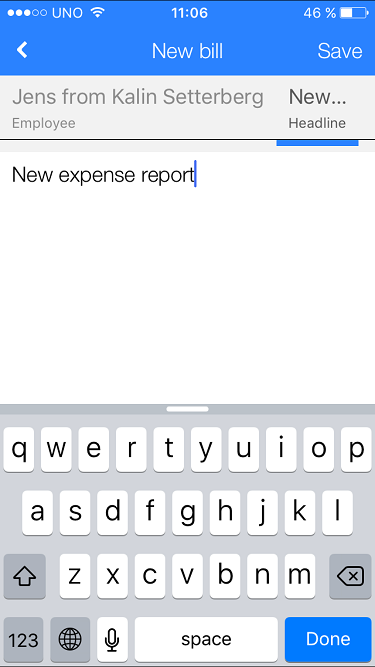
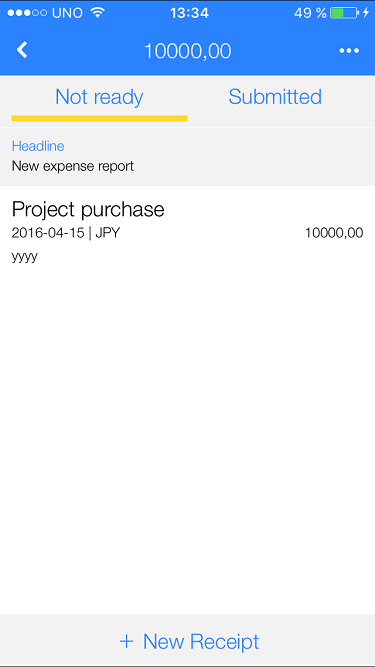
Write a headline for the expense.
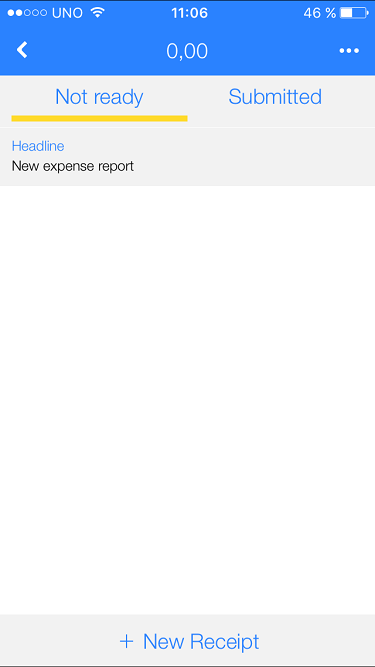
Tap New receipt.
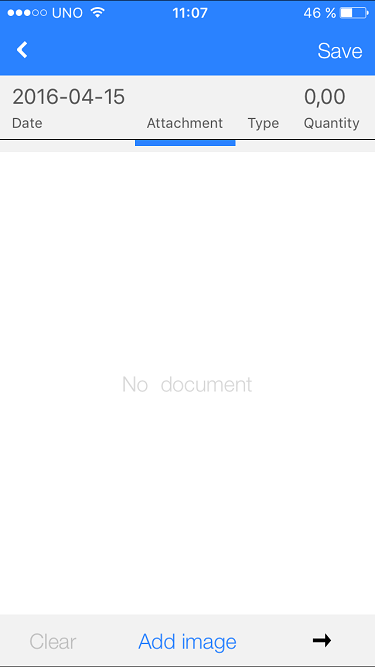
Add image of supporting document (receipt).Then write amount, tax, and possible project and purchase code.
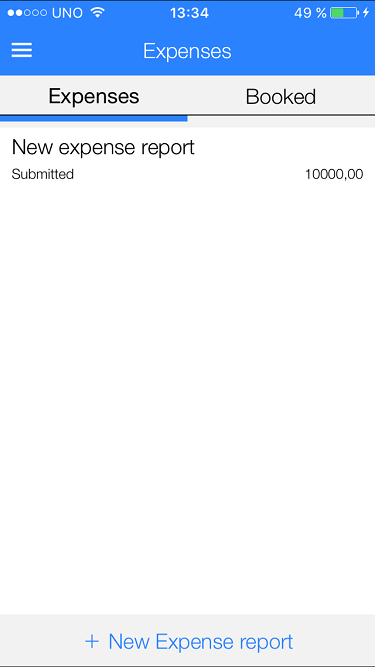
When all the receipts are registered,tap Submitted.
This view shows your own expense reports.
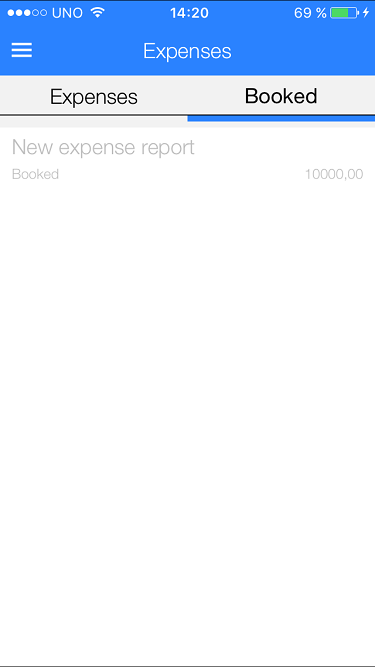
The tab ”Booked" shows expense reports that have been booked and paid.
