Korrigering av Tid, Innkjøp og Øvrigt
Beskriver måten du korrigerer timer, innkjøp og øvrigt som er registrert feil.
Korrigering av tid
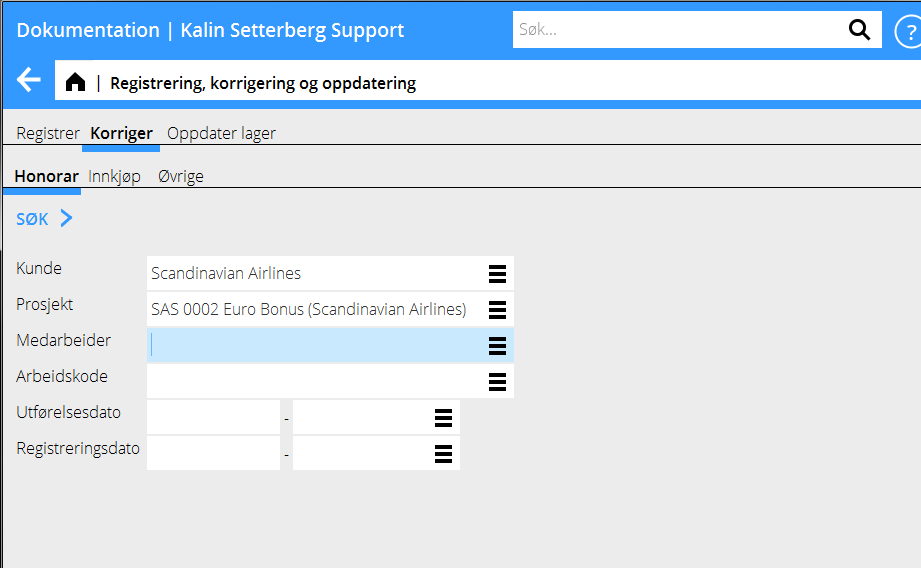
Gå inn i Prosjekt: Registrering, korrigering og oppdatering og velg fliken Korriger og deretter Honorar.
Reduser antall rammer ved at spesifisere f eks prosjekt, medarbeider og dato. Velg Søk.
Husk! Dersom du får en varsling med rød tekst om ikke oppdaterte transaksjoner, må du sjekke fliken Oppdater lager och forsikre dig om at den ikke ligger der. Ellers er det risiko for dobbelt korrigering.
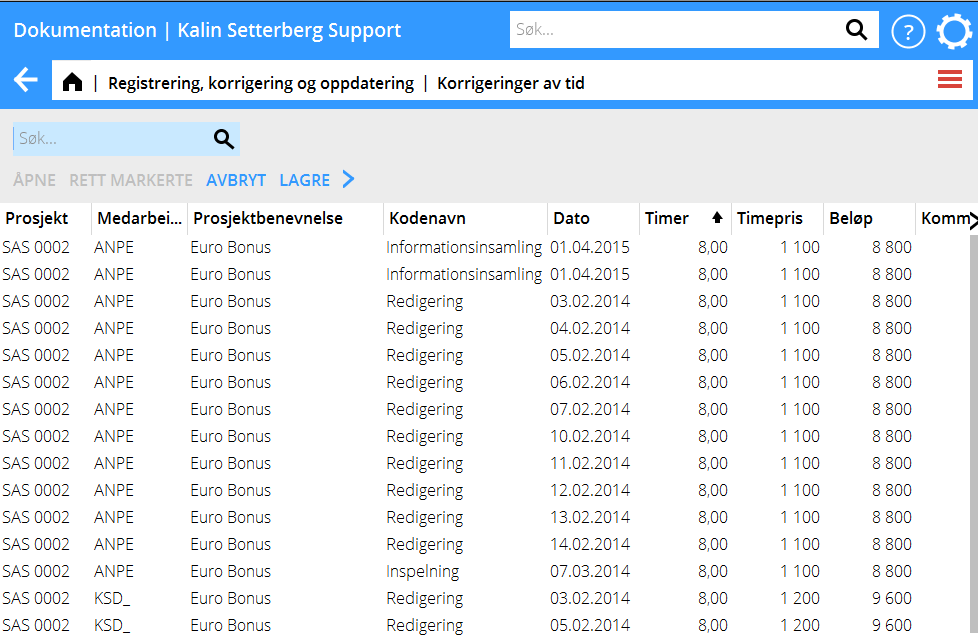
En liste med de registrerte postene vises. Marker posten som du vil endre og velg Åpn. Ønsker du å endre flere poster, hold Ctrl-tasten nede og velg poster, klikk deretter Rett markerte.
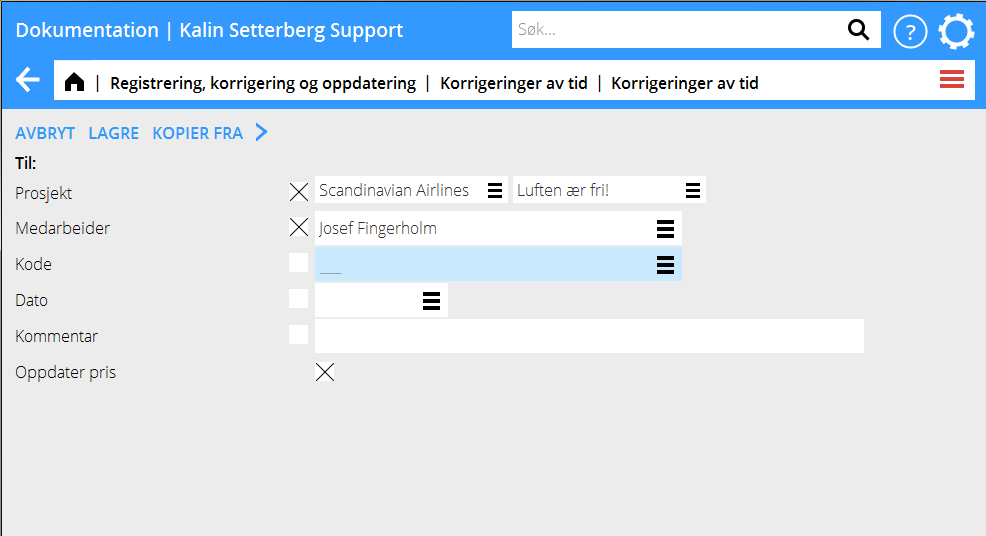
Du kan nå flytte timer til et annet prosjekt, en annen kode eller en annen medarbeider. Angi kun de opplysninger som du vil endre; allt annet blir igjen. Dersom du bare vil oppdatere prisene, avkryss gfeltet Oppdater pris. Lagr.
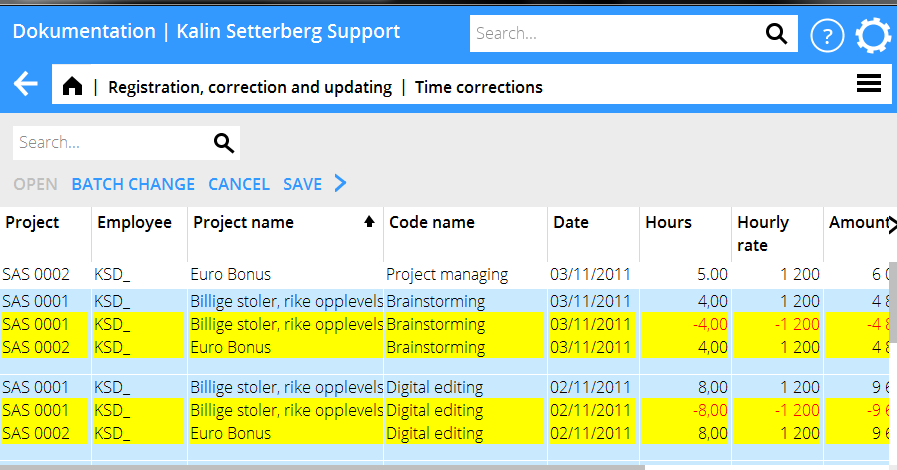
The list now shows changed plus- and minus records highlighted in yellow. Check that everything is OK and click Save. If you wish , you can check the box Automatic WIP update when saving. Corrections made here are shown both here and in the Time reporting.
Correction of purchases and other
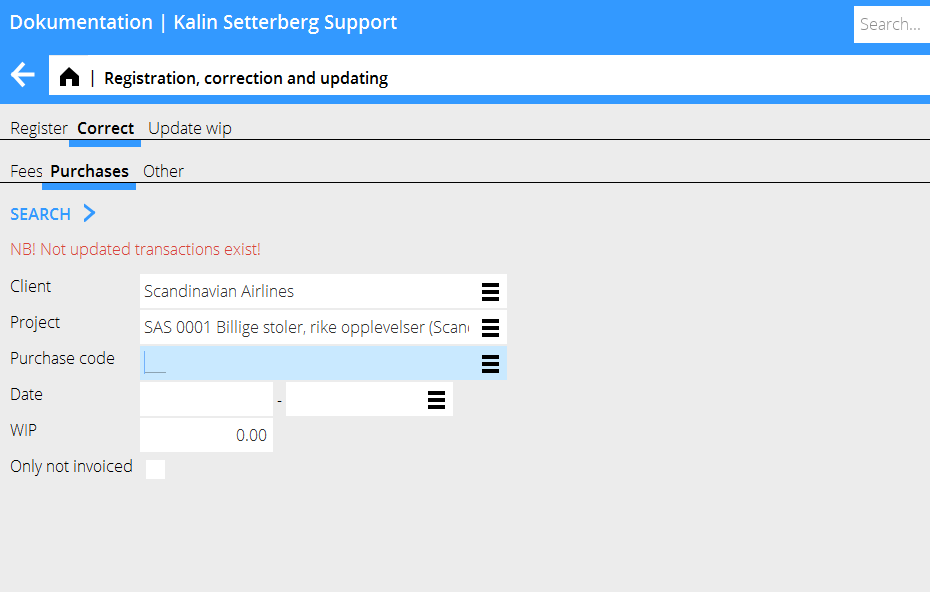
Go to Project: Registration, correction and updating and select Correct, then either Purchases or Other. NB! If the text ”NB! Not updated transactions exist!” is shown in the search box , you should check in the program Update, that the record you want to correct not is in that tab. Otherwise there is a risk of double corrections.
Limit the list of hits by specifying e.g. project. Press Search.
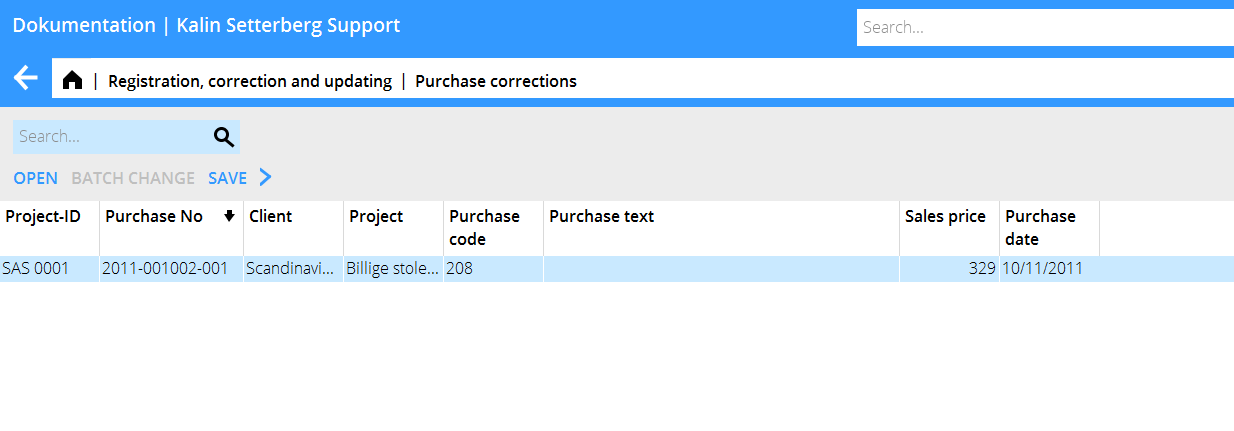
A list of the registered purchases/other – records is shown. Select the record that you wish to change and press Open. If you want to change several records, press Ctrl key and select them, thereafter press Batch change.
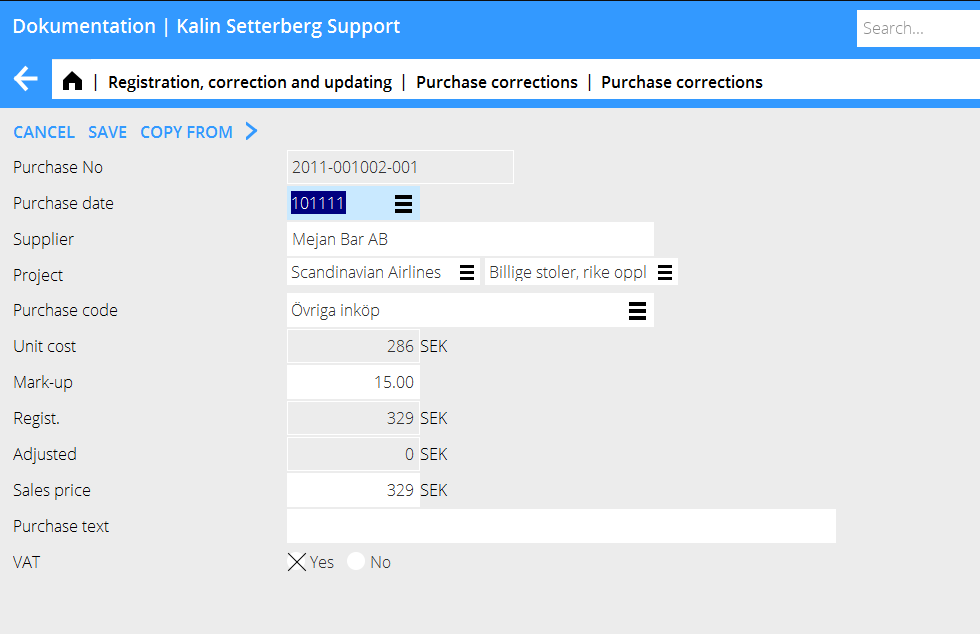
You can now move purchases/other to another project. Fill in only the fields that shall be changed, the rest will remain the same. Press Save.
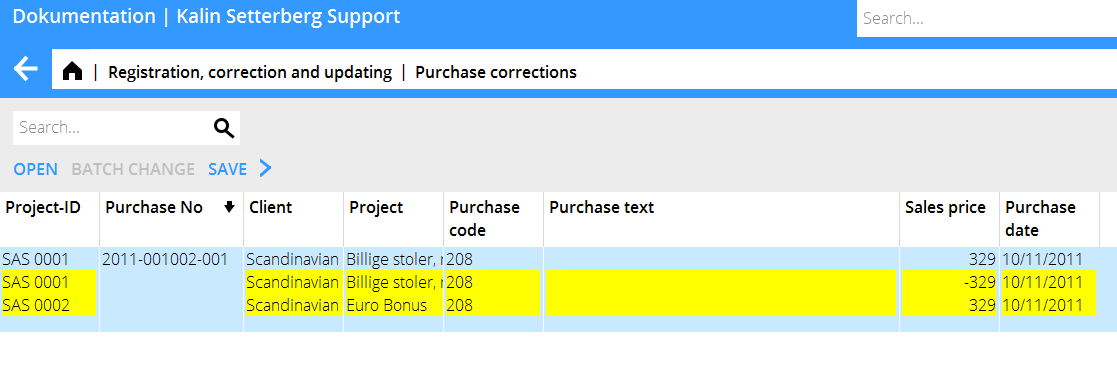
The list now shows changed plus- and minus records highlighted in yellow. Check that everything is OK and click Save. If you wish , you can check the box Automatic WIP update when saving.
