Correction of Time, Purchases and Other
From Marathon Documentation
Contents
Correction of time, purchases and other
Description of how to correct erroneous hours, purchases and other records.
Correction of time
In this function, time can be moved to, for example, another project or another fee code. Corrections made in the correction program will be visible both in the project and in Time Reporting.
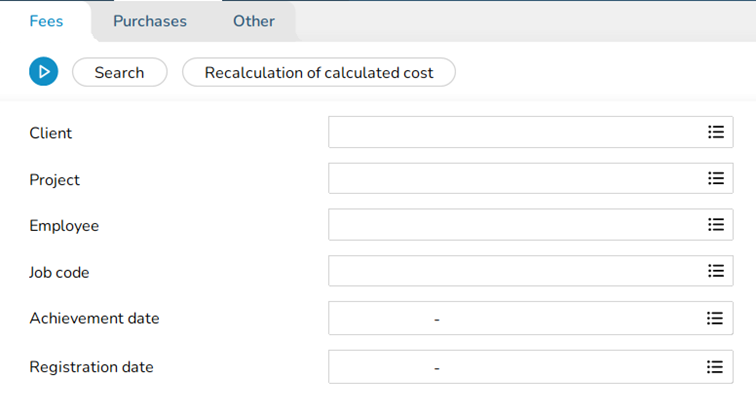
- Go to Project | Backoffice | Transactions, tabs Correct/Fees.
- Reduce the number of hits in the search by specifying, for example, projects, employees and dates. Select Search.
- If the message ”NB! Not updated transactions exist!” is displayed, the WIP has to be manually updated to avoid double correction.
- Open the record you wish to correct or use Batch change.
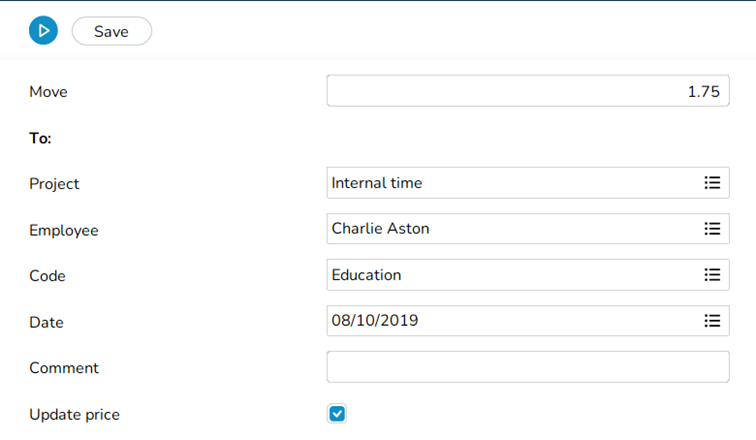
- The record can now be moved to another project or code, for example. The entire record must be moved, as in the example 8 hours. The date and employee should not be changed, as the change will be reflected in the time reporting.
- Fill Only fill in the information that needs to be changed; the rest remains the same.
- If the price is to be updated with a new price, the Update price box must be ticked. Select Save.
- The list is now displayed with yellow-marked plus and minus items for the changes made. Check the list and Save.
- Updates are performed automatically if the ‘Update WIP automatically’ parameter is enabled. If automatic WIP updates are not enabled, the system will ask if the WIP should be updated.
Recalculation of calculated cost
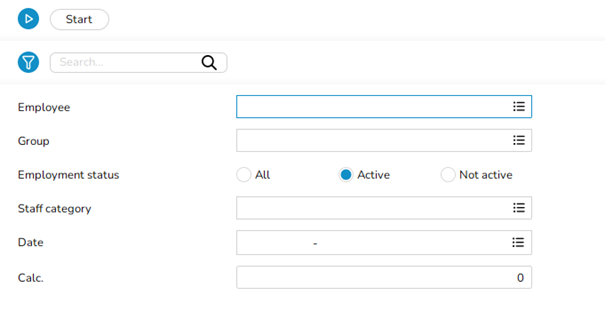
The Recalculation of calculated cost button can be used to update the calculated price retroactively.
- Select Employee or leave blank to select all employees.
- Select employee group or blank if everyone shall be updated.
- Fill in Employment status.
- Staff category or blank for all categories.
- Recalculation date.
- If the figure 0 is shown under Calculated cost/hour, the calculated cost is retrieved from the employee register; otherwise, an amount can be entered.
Correction of purchases and other
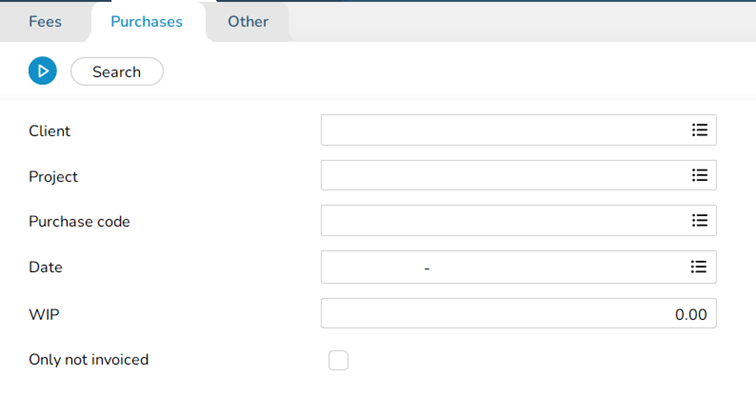
Go to Project | Backoffice | Transactions, select Correction tab and either Purchases or Other (in this example Purchases).
- If the message ”NB! Not updated transactions exist!” is displayed, the WIP has to be manually updated to avoid double correction.
- Reduce the number of hits in the search by specifying, for example, projects. Select Search.
- A list with the registered purchase/other records is displayed.
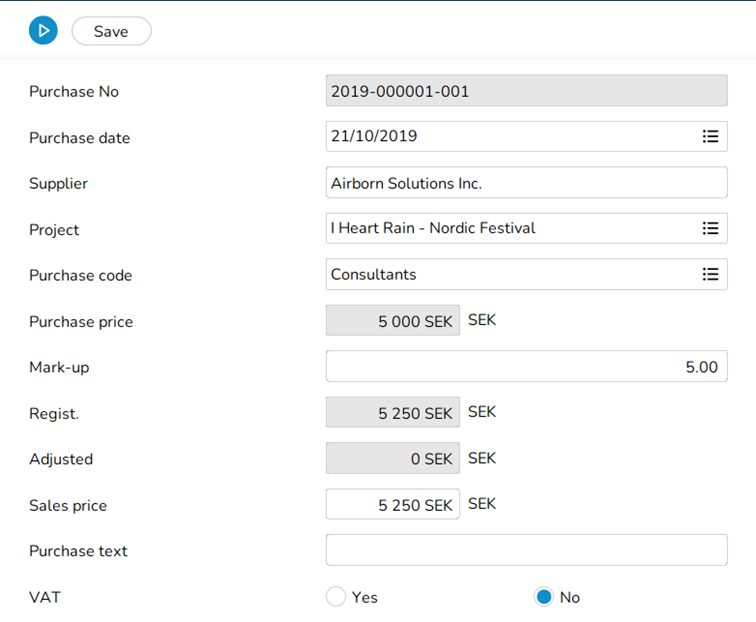
- Open the record to be changed or select Batch change.
- Purchases/other can be moved to another project. Fill Only fill in the information that needs to be changed; the rest remains the same.
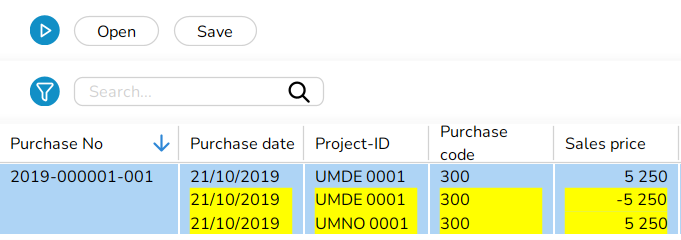
- The list is now displayed with yellow-marked plus and minus items for the changes made. Check the list and Save.
- Updates are performed automatically if the ‘Update WIP automatically’ parameter is enabled. If automatic WIP updates are not enabled, the system will ask if the WIP should be updated.
